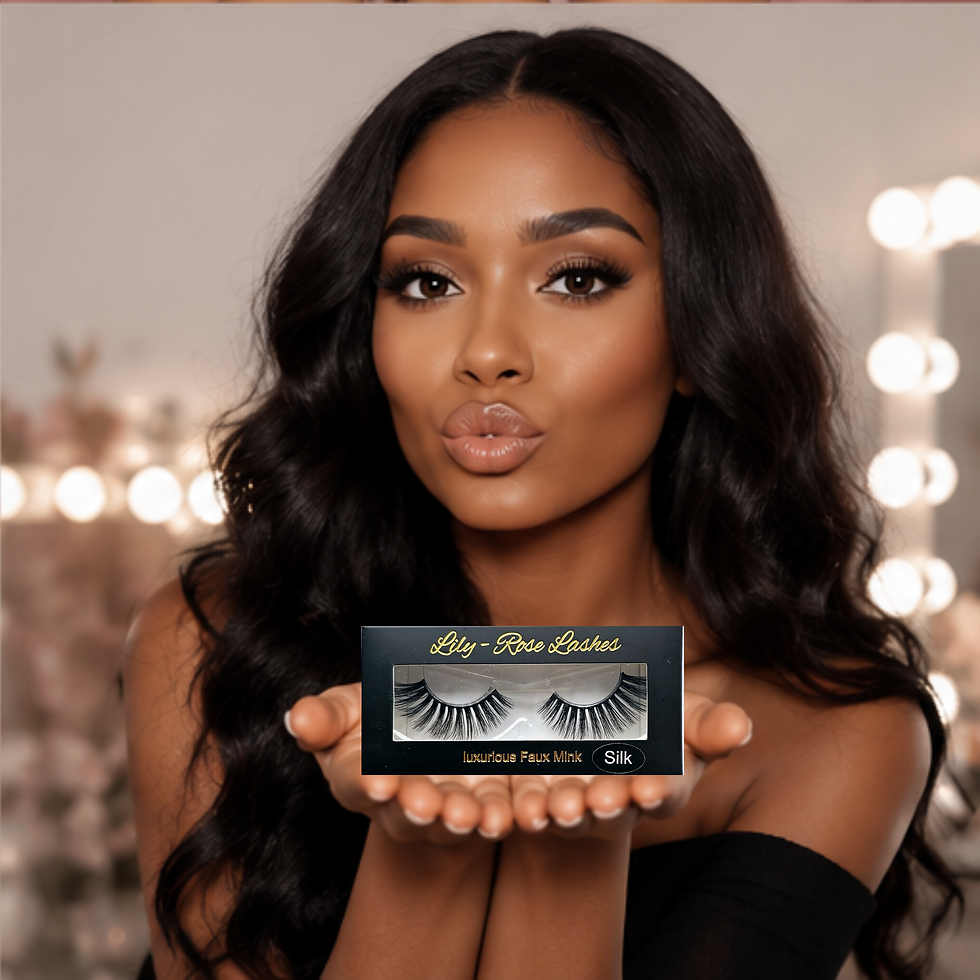
ProLash - Luscious
£12.00
£6.00
Buy 2 Get 1 Free
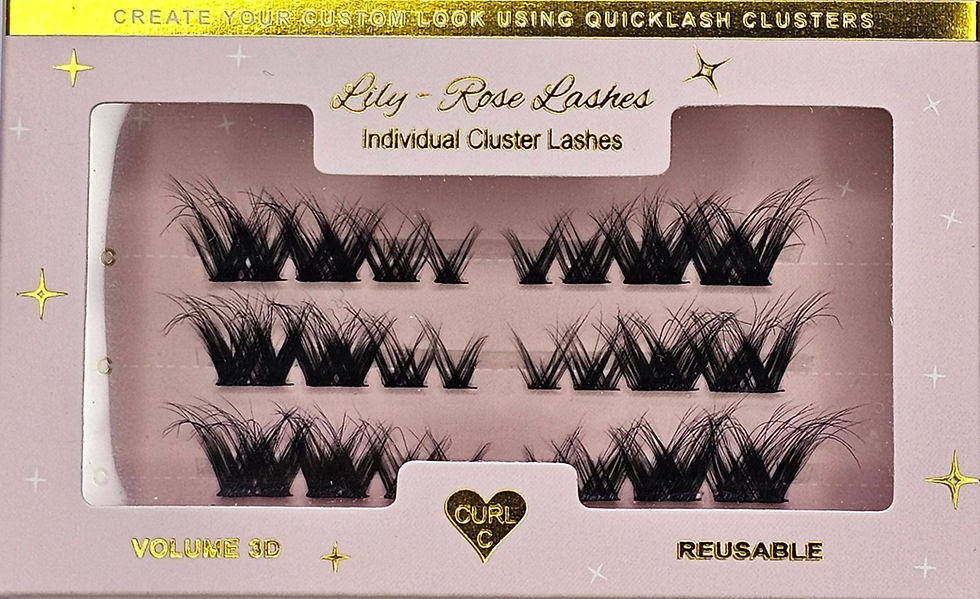
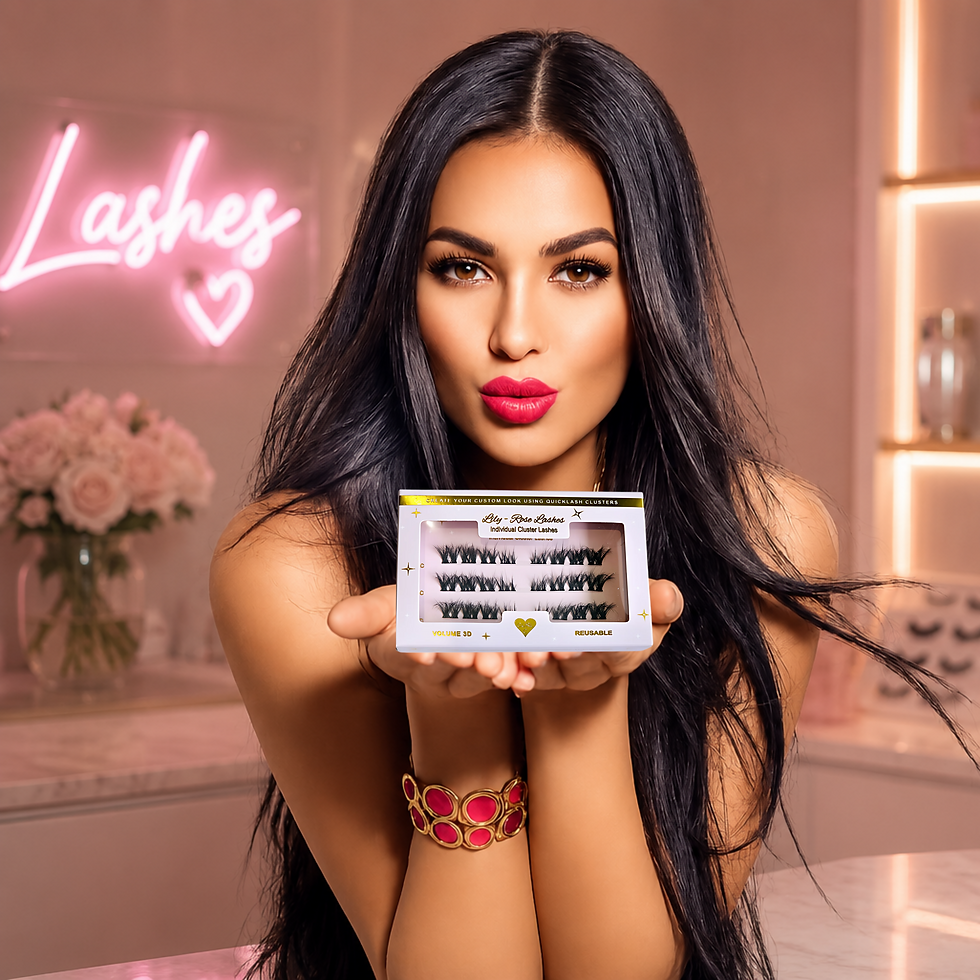
DIY Individual Cluster Lashes
Create your own custom lash look with our ultra-soft DIY Individual Cluster Lashes. Designed for easy at-home application, these lightweight clusters let you build anything from a soft natural finish to full glam volume exactly how you like it.
Featuring a fluffy wispy design with a flexible band for comfortable wear, these clusters blend beautifully with your natural lashes for a seamless salon-inspired look.
- Not pre-glued — use with your favourite bond & seal adhesive.
- Lightweight & comfortable
- Soft faux mink fibres
- Reusable with proper care
- Easy DIY application
- Natural wispy volume
Perfect for creating personalised lash maps and everyday to glam lash styles.
Quantity
How To Apply Your Lash Bond & Seal
Step 1 — Prep Your Natural Lashes
Ensure lashes are clean, dry and free from makeup or oils.
Step 2 — Apply Bond
Apply a light layer of lash bond onto your natural lashes.
Wait 20–30 seconds until slightly tacky.
Step 3 — Apply Lash Clusters
Using tweezers or a lash applicator, gently place the lash clusters underneath or along your natural lash line.
Start from the outer corner and work inwards for easier application.
Step 4 — Build Your Lash Style
Mix and layer different cluster lengths to create your perfect custom lash look — from natural wispy to full glam volume.
Step 5 — Seal & Secure
Apply lash seal to remove tackiness and lock lashes in place for longer-lasting wear.
Step 6 — Blend
Gently squeeze natural lashes and clusters together for a seamless finish.
Pro Tips ✨
-
Apply clusters underneath the lash line for a salon-style effect.
-
Use shorter clusters in the inner corners.
-
Avoid overapplying bond.
-
Reusable with proper care.
How To Remove Lash Bond & Seal Lashes
Step 1 — Apply Lash Remover
Using your remover, gently brush onto the lash bond area and along the lash line.
Allow it to sit for 30–60 seconds to break down the adhesive.
Step 2 — Gently Remove Lashes
Carefully slide the lash clusters away from your natural lashes using tweezers or fingertips.
Do not pull or tug.
Step 3 — Clean Natural Lashes
Use a cotton pad or cleansing brush to remove any remaining bond or seal residue.
Step 4 — Rinse & Care
Cleanse the eye area gently and allow lashes to dry naturally.
Important ✨
- Never force lashes off.
- Avoid pulling to protect your natural lashes.
- For reusable lashes, gently clean clusters after removal before storing.
Returns and Refunds
No returns due to hygiene reasons unless faulty
www.flamingobaytanning.co.uk/returns-refunds-lashes
We dispatch within 1–2 working days via Evri 48 tracked delivery.
View our returns policy
Shipping
We dispatch within 1–2 working days via Evri 48 tracked delivery.
How To Care For Your Cluster Lashes
Keep your 7 Days ProLash DIY Cluster Lashes looking fresh, fluffy, and reusable with these simple care tips:
Before Application
-
Start with clean, dry lashes free from oils or makeup.
-
Avoid applying heavy skincare or mascara before use.
Daily Care
-
Avoid rubbing or pulling on your lashes.
-
Keep lashes away from excessive steam, oils, and water for the best hold.
-
Sleep carefully to prevent crushing or bending the clusters.
Cleaning Your Lashes
-
Gently remove leftover glue using tweezers or fingers.
-
Clean clusters softly with a cotton swab and oil-free cleanser if needed.
-
Do not soak lashes in water.
Removal Tips
-
Use a lash remover or oil-based cleanser to loosen the adhesive.
-
Remove clusters gently from the outer corner inward.
-
Never force or pull the lashes off.
Storage
-
Place lashes back into the original tray after use.
-
Store in a cool, dry place away from direct sunlight.
Reuse
With proper care, your DIY cluster lashes can be reused multiple times while maintaining their soft, voluminous look.
More Information
In Stock
Weight in Grams
Product Type
Brand
true
physical
Lily-Rose Lashes
Suggested For You

7 Day Pro Lash Starter Kit with Lashes